
[ad_1]
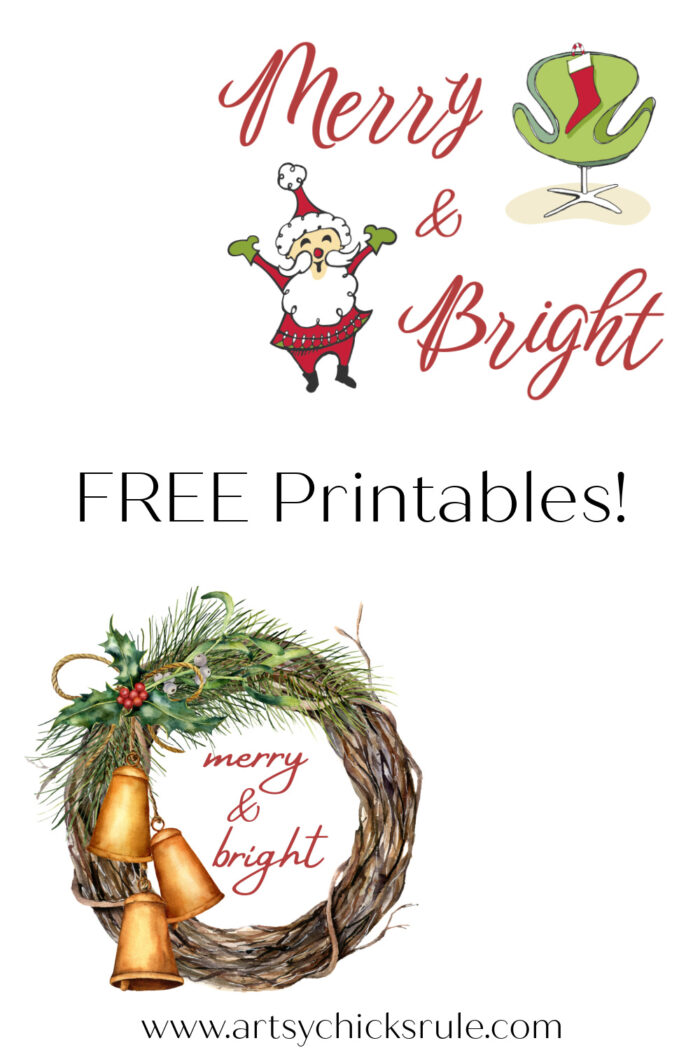
Merry & Vivid FREE printables plus an indication simply made with them utilizing a printer and switch gel!
Whats up candy pals!
I’ve received a fast and simple vacation makeover for ya right now! PLUS, 2 model new free printables added to the library so that you can use too.
I additionally needed to inform you concerning the new printer I received. I stored having bother with my different one with the ink and it was simply time for a brand new one.I ended up getting a colour laser jet this time as a result of I believe I can do extra with it creatively. To this point I find it irresistible!
Right here is the one I received in case you are .
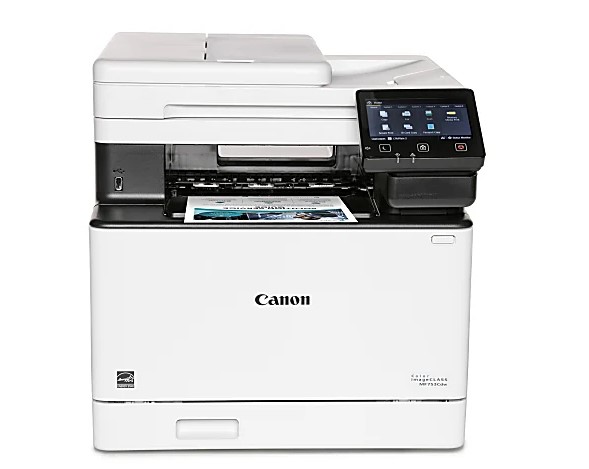
It’s on sale proper now. (it was on sale after I received it but it surely’s really $50 lower than what I paid)Yow will discover it right here. There may be additionally a lower-priced model that can be colour, right here.
I’m mentioning it as a result of I used it in right now’s venture.
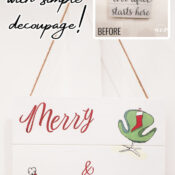
I created two brand-new printables for you and used one in every of them on this thrifted signal I discovered not too long ago.I like shopping for outdated indicators on the thrift retailer and recreating them. It’s really easy since they’re principally able to go together with hangers, and so forth.
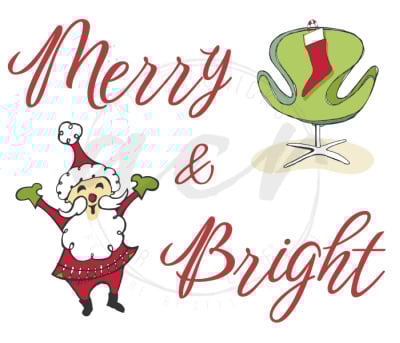

>>>All of my graphics are free to my subscribers. Not a subscriber but? No worries, you possibly can turn into one proper right here. >>> Welcome!

>>>Then hop on over right here to obtain! >>> Obtain printables
Merry & Vivid Free Printables & Signal
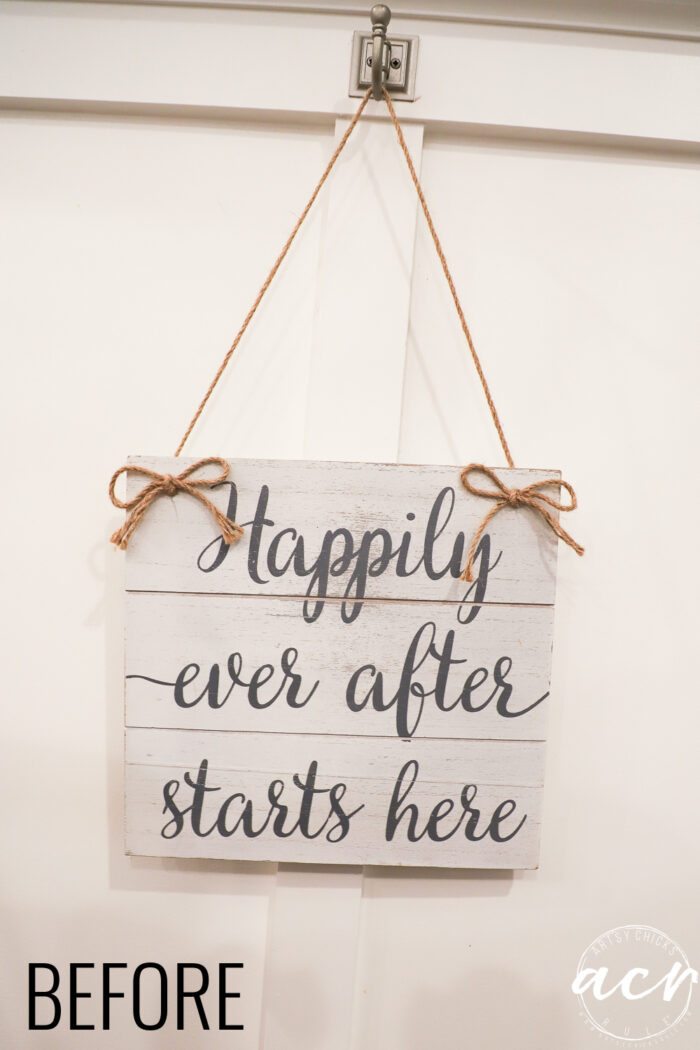
I pulled off the bows and sanded to take away among the lettering.
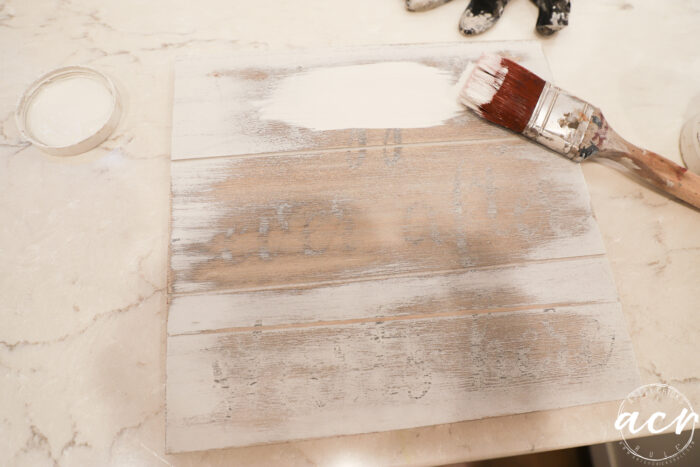
I attempt to take away most of it as a result of it typically will present via.
I used Picket Fence as a result of it’s good and white.
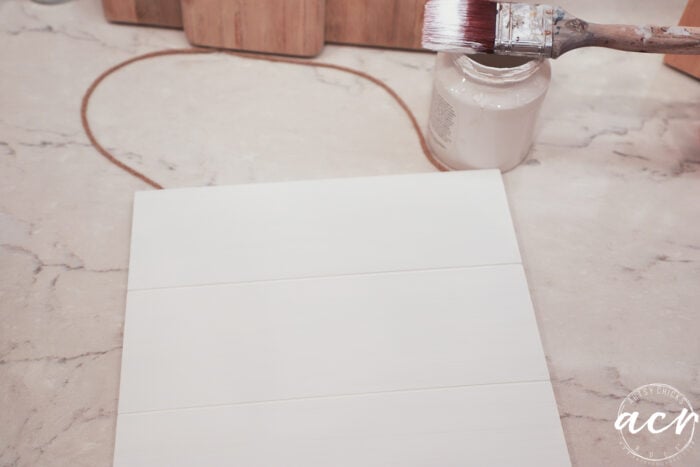
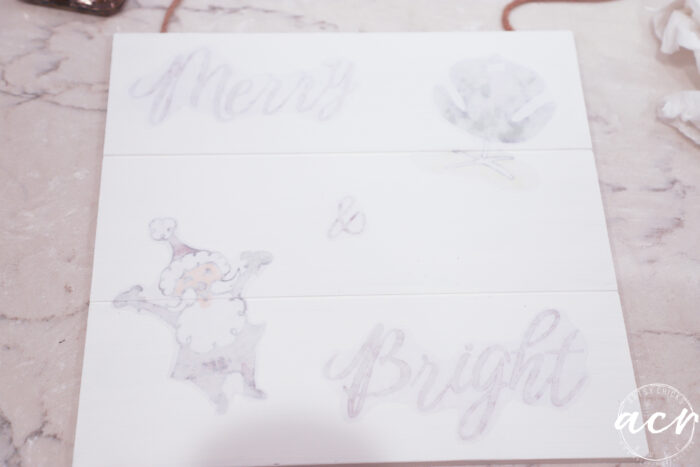
Then I printed one of many free printables in reverse to make use of on the board.
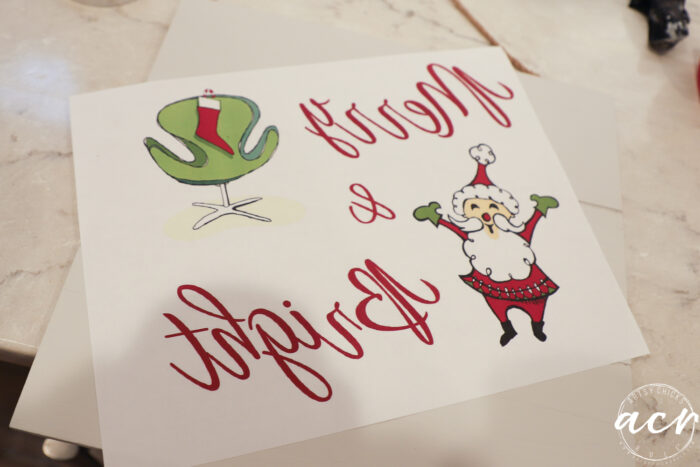
I ended up chopping the items out individually. You don’t have to do this, simply minimize round the entire thing.I needed to house it out just a little extra so minimize them up.
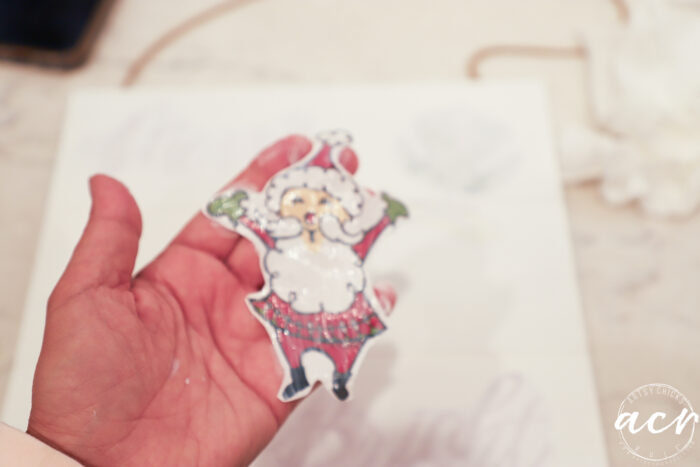
As an alternative of making use of the Switch Gel to the entire board, I utilized it to the printed facet of every piece.
Then utilized them to the painted board. (make sure your paint is dry)
As soon as they’re absolutely dry, apply some water with a sponge over the decoupaged printed items.
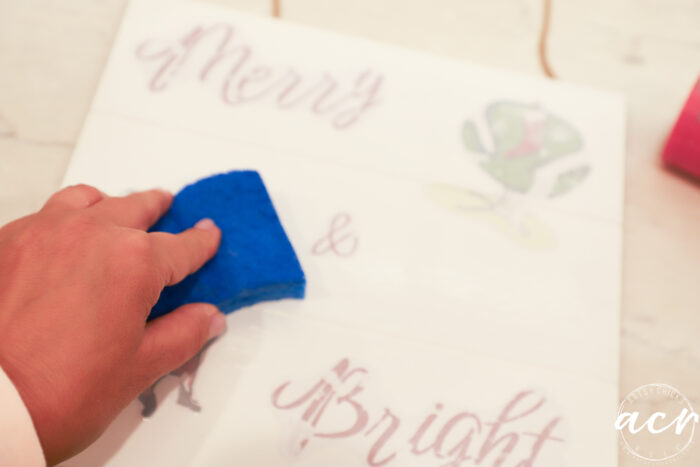
I used to be in a rush to get this venture achieved so I may get this submit to you so I used the blow dryer. Not the most effective thought however it’s going to work in a pinch.It’s higher to let it dry for a number of hours or in a single day.

You merely rub your finger over the moist paper and rub it away. The printed half stays behind.
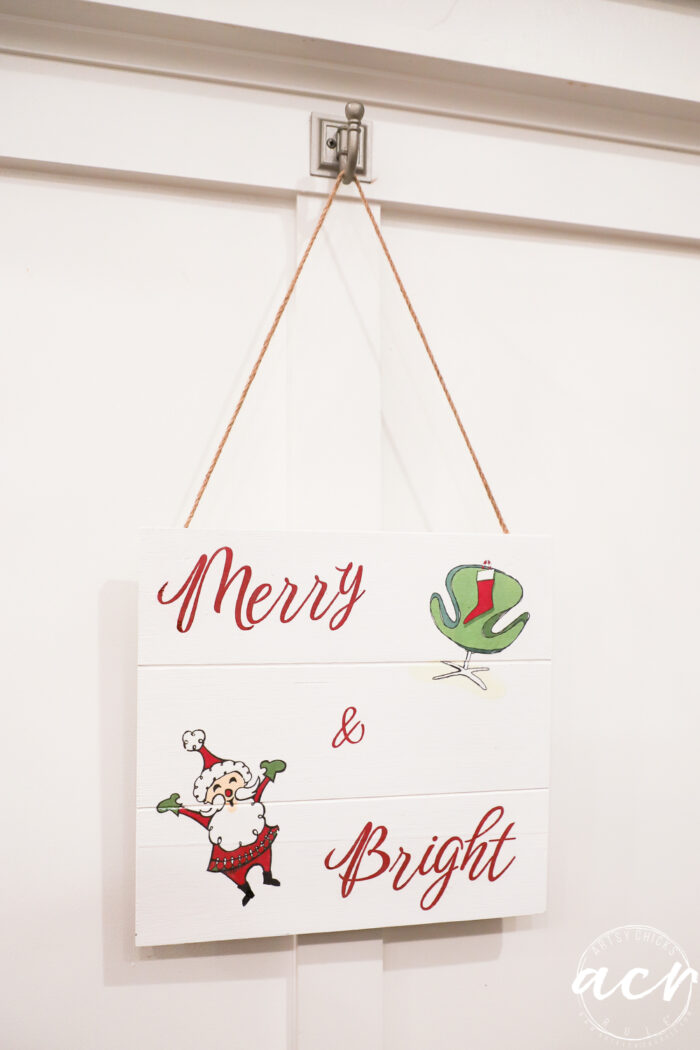
I put a coat of Robust Coat High Coat in Matte end over high.
Isn’t that really easy?? I like a fast (and low-cost!) craft like this.
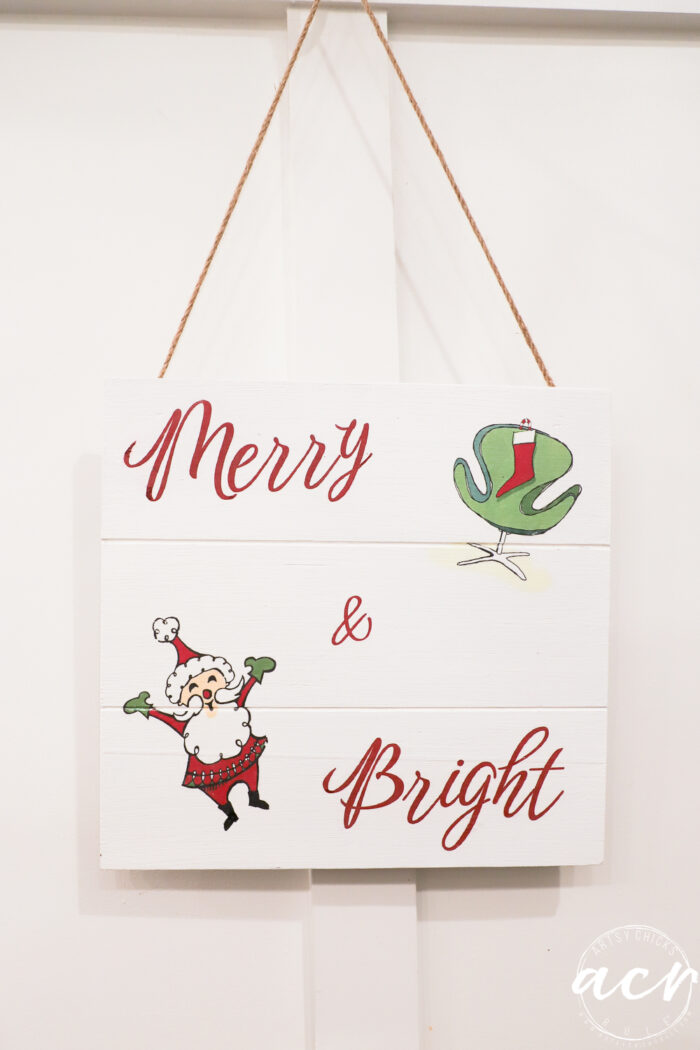
I like the lovable, whimsical design of this one!
Assume you’ll make one too? It’s straightforward once you do it this manner. And you may completely do that with an inkjet printer too nonetheless, it appears to be hit and miss. I believe the laser printer works finest general.
Listed below are a number of different initiatives I’ve achieved with this methodology:
PIN it to reserve it!
Have a beautiful week!! I’ll be again on Thursday with one thing particular…don’t miss it! 😉
xoxo

[ad_2]
Source link


")


")


")


")


